Author Archives: 2020

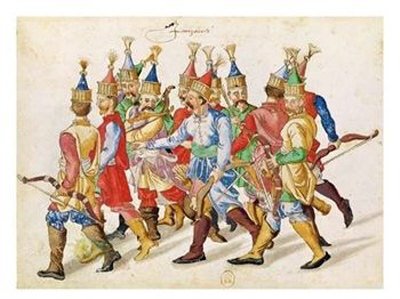
Janissaries Archers

The protectors of the Sultan
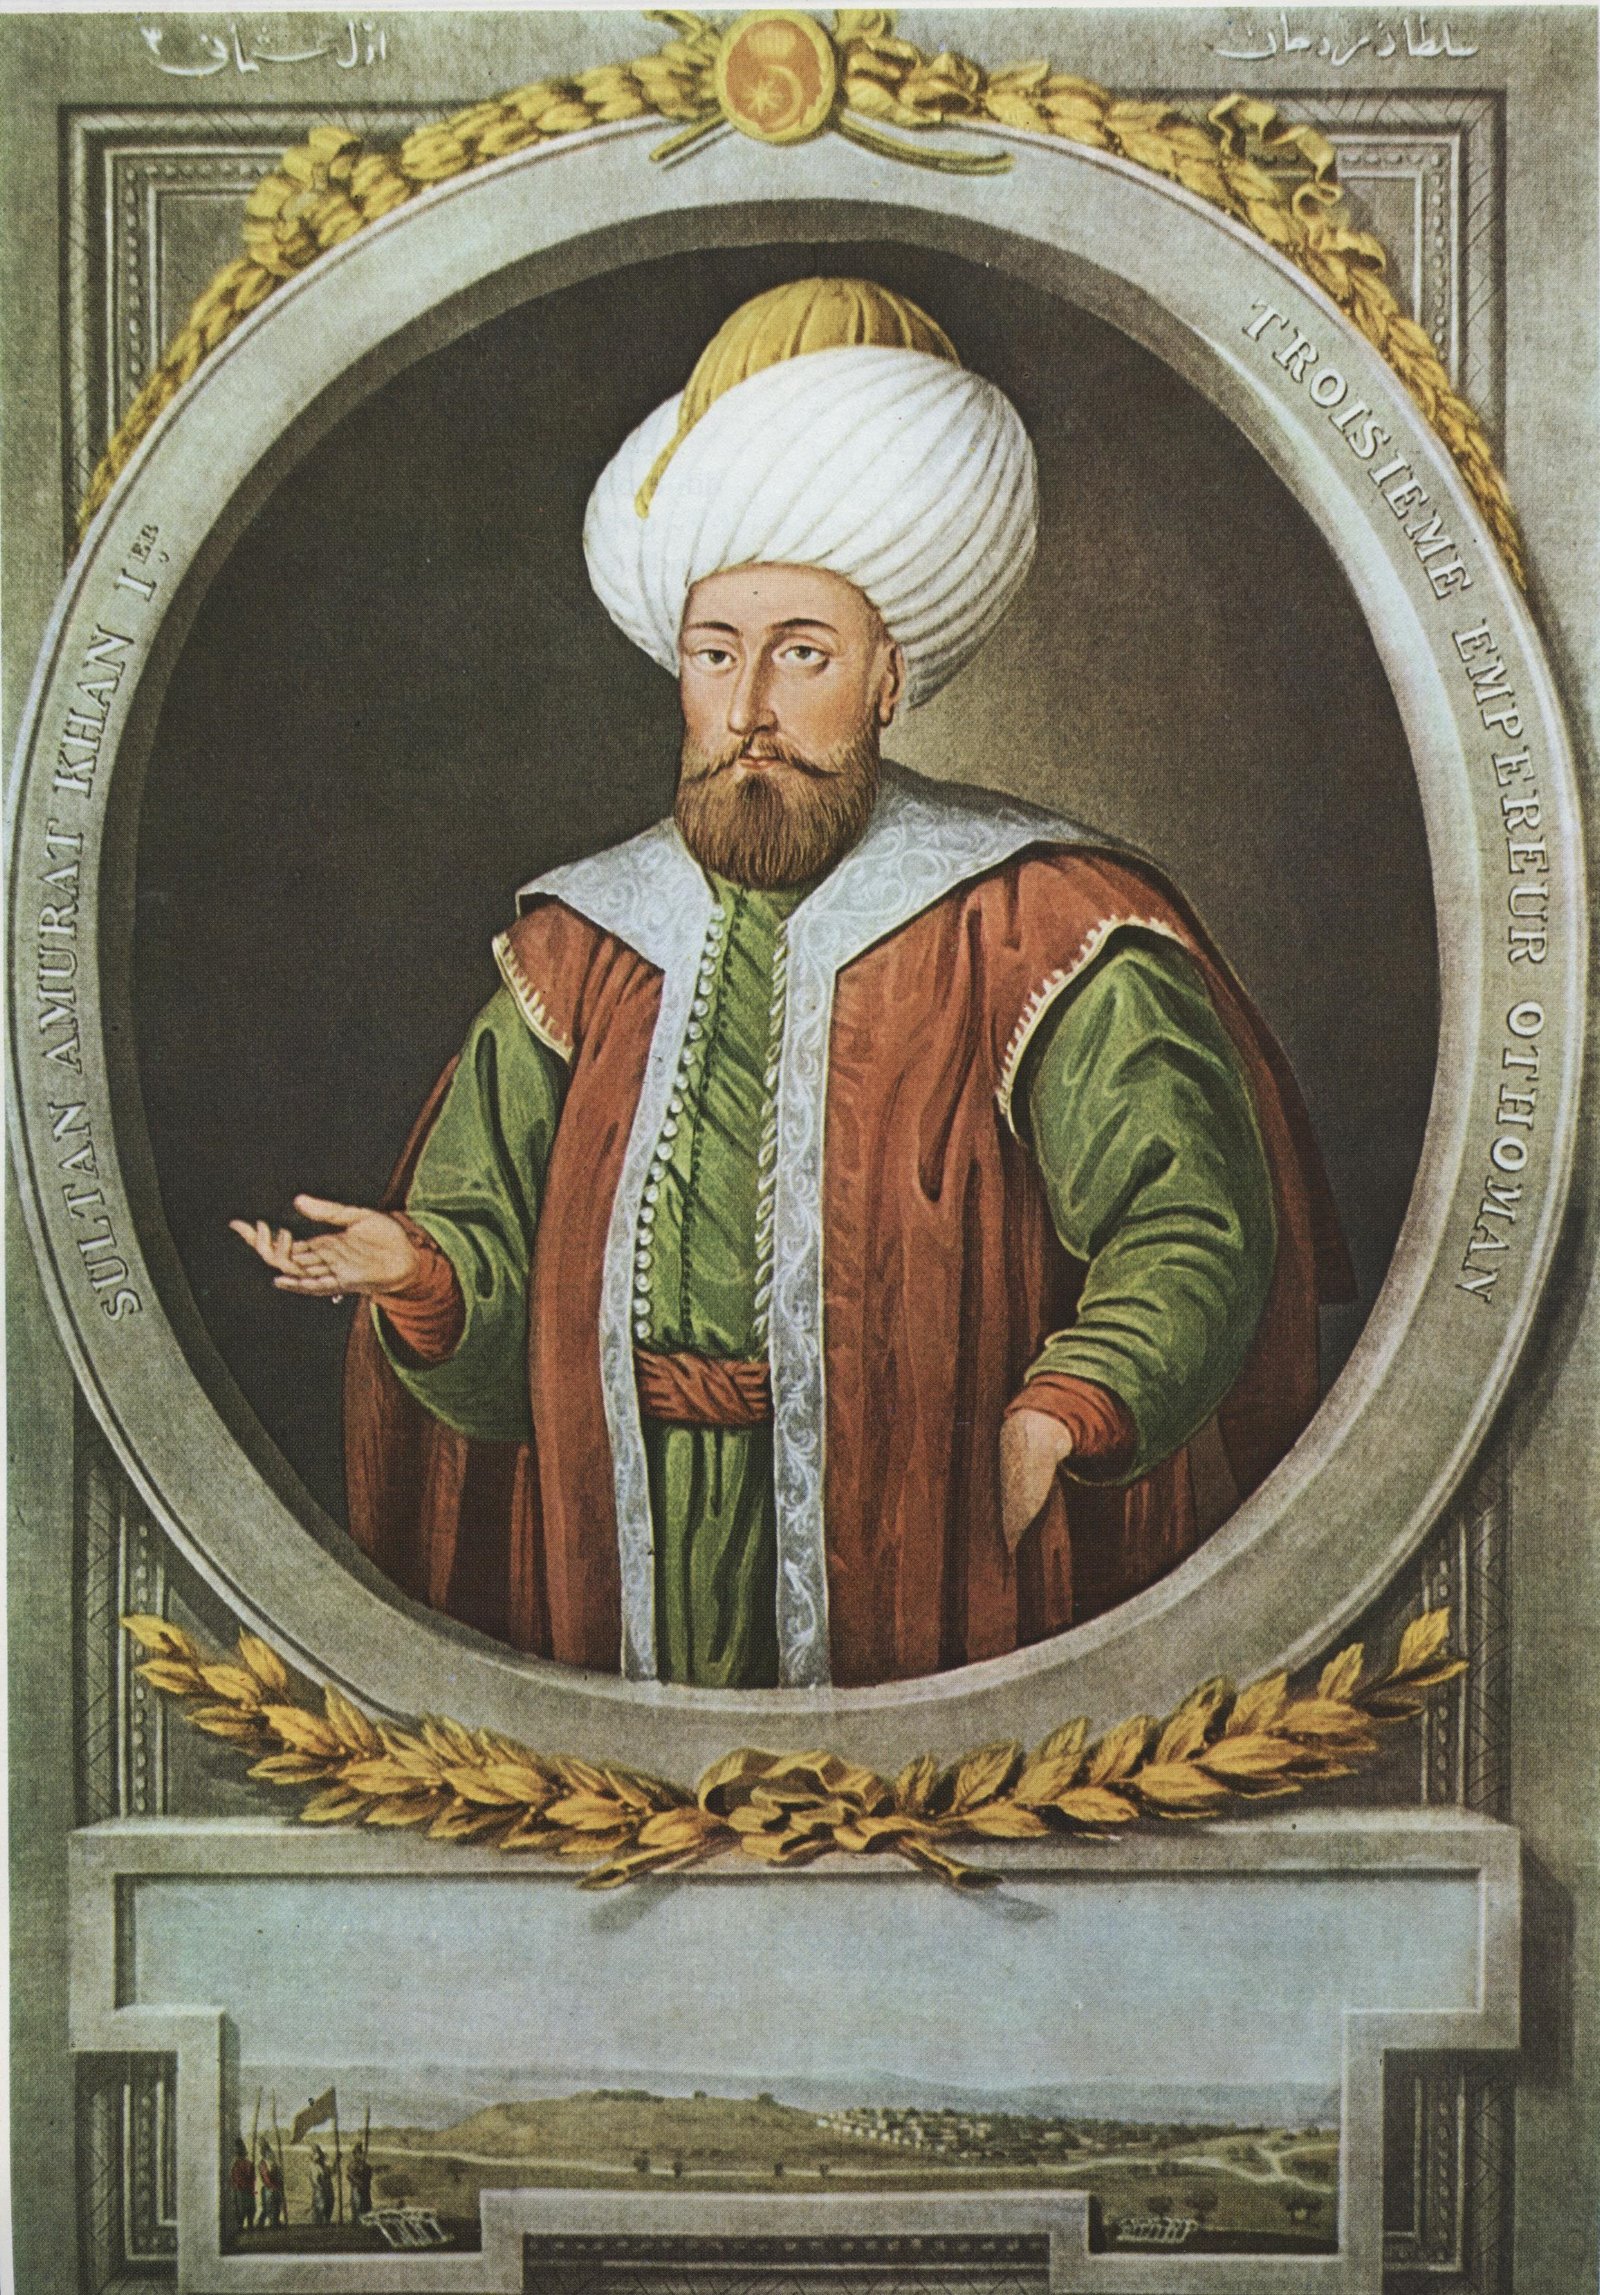
The Janissaries archers were elite infantry units created by sultan Murad I, the first sultan of the Ottoman empire, in 1383.

Murad I

They began as an elite corps of slaves recruited from young Christian boys from the Balkans and Anatolian through the devşirme system, abolished in 1638. Turkish children nor Jews were never subject to devşirme. Later on, the Janissaries could enrol their own children in the corps after the devşirme system was abolished by sultan Murad III.

They wore unique uniforms, were paid, marched to music, lived in barracks and were the first corps to make extensive use of fire arms. During the initial period of formation, Janissaries were expert archers, but they began adopting firearms as soon as they became available during the 1440s. They also served as policemen, palace guards and fire fighters in peace time.

Recruitment
After a non-muslim boy was recruited, he was sent to selected Turkish families to learn how to speak Turkish, the rules of Islam and the customs and cultures of Ottoman society. After this, boys were trained in Enderun school at the capital city. They were selected for their talents in different areas to train as engineers, artisans, riflemen, clerics, archers, artillery, etc. They trained under strict discipline and in practically monastic conditions. Unlike other muslims, they were expressly forbidden to wear beards, only a moustache.
For all practical purposes, Janissaries belonged to the sultan and they were regarded as the protectors of the throne and the sultan. They were taught to consider the corps their family and the sultan their father.

janissaries

The corps
The corps was organised in ortas (equivalent to a battalion). While the sultan was the supreme commander of the Ottoman army and of the Jannissaries in particular, the corps was organised and led by a commander. The corps was divided into 3 sub-corps:
– The cemaat, frontier troops with 101 ortas.
– The beyliks or beulukus, the sultan’s own bodyguard with 61 ortas.
– The sekban or seirnen, with 34 ortas.

The ottoman empire used the Janissaries in most of its campaigns, including the capture of Constantinople, the defeat of the Egyptian Mamluks and war against Hungary and Austria. They were always led to battle by the sultan and had a share of the loot. In battle, their mission was to protect the sultan.

The corps was abolished in 1826 by sultan Mahmud II. The main reason for their decline seemed to be a decrease in discipline as they’d grown accustomed to a civilian life.


How to make a basic longbow from scratch

Common wood used to make bows:
– Red Oak
– Yew
– Ash
– Bamboo
– Osage
– Ipe
– Black Locust

To make a longbow, our best options is yew. Although it is quite expensive is ideal for longbows.

The #1 rule when making any bow, is not to use power tools. This slows down the process a bit, but makes it more difficult to make fatal mistakes.

Common tools used to make bows:
– Draw knife
– Spoke shave
– Cabinet scrapers
– Fine wood file
– Sandpapers

The first thing we need to do is the initial shaping of the bow. We have bought a piece of wood which doesn’t look like a bow at all. Most of the wood will need to be removed and it will be done in this initial shaping stage.
Once you’ve removed around 2lb of wood, you’ll need to draw a central line and the rough outline of the bow as a guide.
The main characteristic of this stage is that, at the end of it, you will be able to see the shape of the bow but the wood would be still too thick to bend.
Now it’s time to shape the longbow. Work from the centre towards the tips. Define the D shaped cross section. Define the cuts for the bowstring to fit in and define the handling area.
The only thing remaining is to check the draw length which should be 28″ as standard.
To know your draw length, you have to put your arms away in the shape of a “T”. One person has to measure from middle finger on the right hand to the middle finger on the left hand. Divide the resulting number by 2.5 to know your draw length.

Here are a couple of extended guides on how to make your own longbow:
– http://www.instructables.com/id/How-to-make-a-layered-oak-bow-or-How-NOT-to-make-/?ALLSTEPS
– http://www.instructables.com/id/How-to-make-a-red-oak-bow-start-to-finish/

– http://poorfolkbows.com/oak.htm

– http://www.greenmanlongbows.co.uk/

What is a World Record Status Shoot?

It must have a National Judge in charge. In the UK the shoot will have been registered with Archery GB. The tournament details are published in Archery UK.


You need to shoot at World Record Status shoots in order to gain a ranking. You can see worldwide rankings on the World Archery website here.


https://worldarchery.org/world-ranking


It is a goal for many people to feature on the Target Archery Rankings for Archery GB. There is a link to the annual rankings on their website here :

http://www.archerygb.org/7499.php


Rankings are determined via points and for ‘recurve archers, the points represent each archer’s best two ladies/gents WA 1440 rounds and best three WA 70m rounds all from shoots with World or UK Record Status; in addition recurve archers are required to shoot an associated Olympic round but the score is not included in the total.

For barebow and longbow archers, the points represent each archer’s best two ladies/gents WA 1440 rounds and best three WA 70m rounds all from shoots with World or UK Record Status.’


As long as you complete this requirement you WILL get a national ranking – which is obviously exciting! In 2016 ladies recurve placed down to position 124. Ladies longbow placed down to 26. Gents recurve placed to position 204 and Gents Barebow to position 18.

What weight bow is needed to shoot 70m?

Well, there are lots of things to take into consideration – you should shoot the highest poundage that you can comfortably control. There is some evidence that you could go as low as around the 30lb mark depending on the following points (see next paragraphs). In my experience most people will be shooting around 36lb+.


In addition to increasing your limb weight (which might involve a few trips to the gym but will definitely involve a lot of practicing with your set up) there are a lot of additional things that you can do to help yourself gain the maximum possible shooting distance for the lowest poundage of limbs. It is easier to shoot more efficient limbs so you may be able to control more weight with less exertion if you spend a bit more money (OK maybe quite a lot more money). For example Border limbs explain it thus, “At Border we offer a synthetic composite core and is denoted by an H in the HEX6.5 (discontinued) and HEX6.6 model series. This offers approximately 4fps to 8fps more arrow speed than their multi-laminated bamboo/wood equivalent. This difference is roughly equivalent to 1lb to 1.5lbs of bow weight performance… the choice of core will not affect the draw-force curve at all, the draw-feel will remain the same irrespective to the core material chosen.”


http://www.borderbows.com/ilf-limbs-by-core-c88.html


Arrows also make a huge difference – the faster and lighter the arrow the further it will easily and accurately go. You want the best spin wings, curly vanes, G nocks and something made out of carbon (you won’t be shooting Jazz arrows at 70m).


Spend a lot of time tuning your bow (we still like the Simon Needham book ‘Steps to Success’ for this). You want the most efficient string (e.g. fast flight) and you’ll want some Beiter nock points.

Why are there two holes for my arrow rest?

Quick info-tel post here. I’ve been asked this question a number of times by beginner archers and I always feel like saying to them, ‘You know we’ll talk about that later.’ And somehow ‘later’ never comes.

So, the answer, of course, is that one is for you to line up your arrow rest into the correct position and the other one is for your pressure button. And what, then, is a pressure button?

The quick answer is that it is a small ‘button’, that pushes through the riser in the middle of your arrow rest which has a spring inside that can be set to be more soft or more firm in order to help fix the archer’s paradox. But, if you’re reading about the archer’s paradox for the first time that doesn’t help much. So, what’s the best way to explain it? As you release your arrow it has to bend to clear it’s way around your riser. Unlike a slingshot where you can pull back the sling and have nothing in the way between the missile and target, with a bow and arrow as you draw the string back and point the arrow at the target you’ll find that you have a riser / bow right in front of where you’re shooting.

So, the arrow needs to bend around the riser – and there are some amazing slow motion videos (especially the ones by Beiter) showing it doing just that. Without a pressure button the arrow will bend as far as it can and as far as it needs to according to how good your release is, how bendable your arrows are (the spine) and the force with which you are releasing them (the weight of the bow).

Installing a pressure button helps to achieve two things – it helps to correct the archer’s paradox (as far as possible) and it helps you to get the perfect ‘tune’ to your arrows by allowing more or less bend in the arrow shaft and it also allows you to set the ‘centre shot’ – basically the optimum position for pointing the arrow down range that will give it the most help to snake its way around the riser.

So, that is the very basic start of an answer about taking your first steps in tuning. For more information I recommend taking a look at The Archer’s Reference Guide (free although they’re grateful for donations) or, if you have a bit of cash to spend and you’re willing to go into some depth, the best book on the subject is Simon Needham’s The Art of Repetition – along with the companion DVD.

What does over bowed mean in archery?

We often forget how much terminology we use in archery and how daunting it can be as a beginner so we thought we’d tackle a few of the big questions here on the blog starting with:

What does it mean when my archery instructor says that someone is ‘over bowed’?

Obviously, it doesn’t mean that they have too many bows because we all know that you can never have too many bows. This is what garages were invented for (or in London spare bedrooms, large cupboards, or any available wall or floor space). It actually means that the weight of the bow that the person is trying to pull is too much for them.

So, firstly ‘how can you tell?’ and secondly, ‘why is that a problem?’ Well, the second most important rule of archery (the first is about where you’re pointing the pointy end) is that in order to be successful an archer must be completely in control of the shot at all times. You want a smooth, repeatable shot cycle – which is exactly the same for every single shot that you take.

So, how do we know you’re over bowed? A good sign is if you see the archer wobbling around, raising their shoulders (no they shouldn’t be up around your ears and yes, it is possible for them to come down) or doing any one of a million other small, painful things (huge tension in the neck is another giveaway or grim locked-jaw with throbbing forehead veins) to try and brace yourself for the huge HOICK back… then you’re not fully in control.

Why is it a problem? Because it throws your shot off and because it’s not repeatable. If you are over bowed it will get progressively worse through the session as you tire – meaning ever more random things start to become part of your shot. We practice regularly to try to build muscle memory in a positive way – we REALLY don’t want for an archer to build in any of those painful things. So, if you feel that you’re tiring or perhaps you’re on the very edge of being over-bowed – once you start to feel that your shots are off, or you are not fully in control – then stop!

Give yourself the break and come back fresh another time.

How to increase bow poundage

It’s incredibly common in archery to struggle with the weight of your bow. It’s common for novices trying to get into the sport, it’s common for novices transitioning from beginners course to buying their own equipment and it’s common for more experienced archers who have bought their own equipment and find that – after the event – they have been a little too ambitious. It’s also a common scenario for people returning to the sport after a pause and for people returning post-injury.

First of all lets get the terminology out of the way – if you’re struggling with the poundage of your bow coaches usually call this ‘over-bowed’. There are some characteristic features of a person’s draw which will tell us if they’re over-bowed but, more often than not, it is something that the archer is aware of (although maybe in denial about)!

I’ll answer a few basic questions and then we’ll move on to how to fix it.

How heavy should your bow be?

The quick answer is: as heavy as you can manage whilst still being completely in control of it at all times. This means completely under control during all parts of the draw, aim and follow-through.

Why would you want your bow to be as heavy as possible?

The easiest way to explain this is to imagine a child shooting a very light bow over a long distance. You can imagine the trajectory as the arrow has to be aimed UP and then it leisurely floats down to land on the target.. with no weight behind it. While it IS possible to shoot somewhat accurately like that (especially indoors where there’s no wind) it intuitively makes sense that if you send the arrow out of the bow more forcefully, it will travel faster and make it to the centre of the target more accurately.

You’ll also find that you’re limited if you try to increase the distance that you’re shooting when you’re shooting a lighter bow. There are all sorts of hacks and tricks (like turning your sight inside the bow to get a sighting point at distance) that can help you.. but an 18lb bow just literally can’t propel an arrow to 70m.

So, we have two scenarios – you already HAVE a bow that’s too heavy for you or you’re shooting a lighter poundage and you want to increase the distances / accuracy of your shooting.

Firstly, the stronger you are – within reason – the better your archery will be. End of. Competitive archery requires physical strength (over the course of a competition archers will deal with more weight than weightlifters – we just do it cumulatively not in one go!) and stamina. The more you can increase both of these things the better your shooting will be.

It also figures that if you are comfortable on the shooting line handling the weight of the bow then you’ve got one less factor to possibly throw you off.

So, it makes sense that the first thing to look at is how can I get physically stronger? Now, I truly believe that there are fundamentally two types of people in this world. Those who love to go to the gym (you can replace ‘the gym’ with whatever word you choose – yoga works well in this case) and those who like to shoot stuff. So, I get that me telling you to go to the gym is probably going to be as welcome as a dose of scabies.. but.. go to the gym. If you possibly can. I promise that if you do the right things at the gym it will make your archery better. So, what is the right thing at the gym? Well what you want is a strength training programme – preferably with a trainer who knows that you’re doing this because you want to get better at archery. And, again if possible, using resistance weights as that’s the best way to mimic the push and pull action of drawing a bow.

For this one you don’t need to do anything crazily specific (like those resistance bands – we’ll get to them later) but a general strength training programme which covers biceps, upper back and core will help you immensely. You might even discover that the gym isn’t that awful. (OK it probably is – I’m an archer, what else can I tell you?).

The next thing is to pull your bow! It sounds obvious but again, as a coach, I can tell you that one of the surest things that you can do to get better at archery is to pull your bow more. And the sweetest thing.. is that you don’t even need to get to a club. And, you don’t even need to shoot arrows. I’m not talking about buying some crazy technical device that allows you to practice your release without actually shooting (although such things exist – see here and here) but just pulling your bow more will help a LOT. This is a particularly good tip for people who have over-bowed themselves. The absolute worst thing you can do is see it sitting in the corner in its bag… feeling slightly resentful toward it and slightly dreading / hoping for a miracle on Saturday – the one day of the week that you shoot… but you missed last week because Great Aunt Mary came to visit.

So, get your bow out! Yes, you can keep your bow strung at home without any harm coming to it. So, get it out! Keeping your bow strung in the spare room (or the lounge if you’re keen and you have an understanding partner) means you can get logarithmically more pulls in each week.

So, what should you actually be doing? Well, you should be mimicking everything that you do on the shooting line – except for nocking the arrow or releasing (you don’t want to dry fire). Keep the bow on its usual stand, lift the bow from its stand placing your hand correctly into the grip, take up your position with normal foot placement, raise as normal, draw as normal, smoothly connect into your reference point as normal, ‘aim’, count to 3 or 5, then relax the tension on the bowstring and come down. I would do 3 or 5 repetitions before replacing the bow on its stand.

If you’re really keen you can get a shot counter (row counters for knitting are fab for this – here are my top three: the cheapest, the cutest, and the one that I use) which in this case would be ‘draw counter’, and use it to count how many ‘shots’ you’ve practiced that day. Try and set a realistic goal – for a realistic amount of times each week.

Those are the two top tips – do these and I promise that you will get stronger and struggle less with the physical side of the sport.

Other things which I’ll just mention – yes you can get resistance training bands and some coaches (and archers) swear by them. If you’re not sure what I’m talking about here it’s this kind of thing (we’re not necessarily recommending these ones). They are convenient because you don’t have to get your kit out – if you genuinely ARE shooting four times a week I can see that getting home and putting your bow up AGAIN might be a bit of a barrier – but there are a few drawbacks too (and really? Are you shooting four times a week already?!) I don’t like the feel of them in my hand and I find it hard to mimic the pushing aspect of the draw (certainly at the end of your drawing sequence you will be releasing with 50:50 split on pushing the bow away and pulling back on the bowstring) and I therefore find it really hard to make it feel anything like a real draw. But they do have their place, they’re reasonably cheap and you can get them stronger or lighter to help you build up.

If you are overbowed the best fix is – obviously – not to stay overbowed! So, bite the bullet and buy some lighter limbs (or buy a lighter bow if you’re shooting traditional, or get the poundage lowered if you have a compound). Nothing will put you off archery faster than being overbowed – it’s painful physically AND psychologically because if you can’t fully control the bow, all the way through every shot, you just aren’t going to be shooting consistently. If you can have a second bow or second set of limbs do the drawing at home thing… or go to the gym for a bit and then try the drawing at home thing.

Take the heavy bow to the club occasionally – in conjunction with gym / drawing at home.

Only shoot it:-

1) if you are completely control of it when you are shooting and,

2) until you feel that your strength is going.

I can’t stress enough that you should not persist once bad form comes in / tired archery starts to happen. If you do this you’ll be teaching your body that raised shoulders and gritted teeth (and frustration from pinging it into the black) is how archery happens for you. But do try to do a little more each time.

Shoot more!

If I could write this in 88 point font I would! No-one ever got to the Olympics shooting once a week (and skipping a week when Great Aunt Mary is in town). If you can shoot twice a week you’ll improve twice as fast. If you shoot three times a week you’ll improve three times as fast. OK we can’t guarantee that your scores will double or triple… but you will do better than how you’d shoot if you only did it once a week. If you can shoot three or four times a week (especially if combined with extra drawing at home and caring for your equipment) you will almost certainly get to a (basic) competitive level in a few months.

Finally, work up gradually – transitioning from an 18lb beginner bow is the hardest step to gauge and will depend on your general strength and condition, and how often you practice. But, generally speaking, increasing poundage by 2 to 4lb whilst shooting regularly (twice a week) is the way to go. Once you feel fully in control of the bow you can increase by a couple or a few pounds. You can also wind your limb weight up or down by around 10% but, be aware, that this is intended for you to perfectly tune your arrows – it isn’t intended as a way to increase the poundage. If you aren’t hugely precious (at this stage anyway) about your tuning though, it can help a little to transition you up (or down in the case of post-injury recovery). Limb exchange schemes can also help with this for beginners just starting out, or those aiming for outdoor shooting – or competitions – who e.g. have a plan to get to 40lb.

So, that’s my coaching perspective on how to increase the poundage of your bow. We’re considering offering some online coaching / goal setting covering more of these ways to improve in a step by step way.

Let us know by email or in the comments if you’d be interested to know more!

Scythian Exhibition at The British Museum

The Art of Scythian Warfare – at The British Museum

The British Museum has its latest blockbuster Winter show on… and it’s archery related! (and also Game of Thrones related as apparently the Scythians were the inspiration for the Dothraki – more about that via this link).

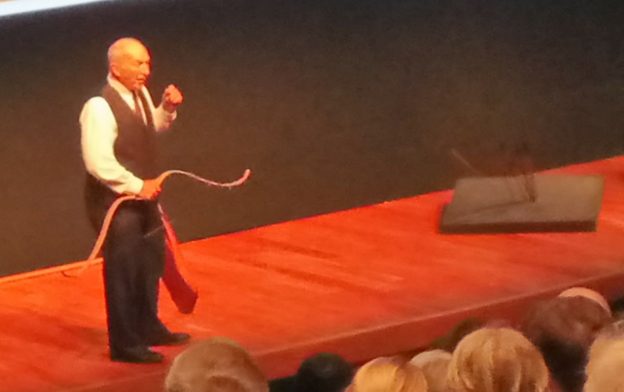
We’re lucky enough to have a club member who managed to get us a few tickets to one of the launch events which was a talk by Military historian Mike Loades. We couldn’t resist asking her for a short review.

“Mike Loades entertained the audience with his amazing skills and his reproduction Scythian bow and saddle. His enthusiasm for the history and the archaeology of the Scythians infected everyone. Who are the Scythians? Well to cut a long story short, they are an ancient nomad tribe who roamed the steppes of Russia (you can learn more here). Before the Mongolians, you had the Scythians!

Mike was fascinating. He was especially enjoyable when demonstrating the loading of the bow. His first hand experience with horse archery meant that he added some interesting points about how the Scythians would have shot from a saddle without stirrups.

Overall Mike Loades is such a great presenter, the lecture was fun and informative.”

Thanks tons to Holly both for the tickets which she made available to the club and for writing the review for us.

The exhibition runs from 14th September until the 14th January and if nothing else you should definitely click through and look at the fabulous 35 sec promo video on the British Museum page here.

It’s too late (sadly) to see Mike Loades but if this has whetted your appetite here’s a couple more Scythian related things happening that you can still catch!

  • There a gallery talk on Sat 2nd December called ‘Scythian Archers: law and order in ancient Athens‘ (more details here and it’s free!).
  • There is a film called ‘Scythians – Amazons of the Steppe‘, part of the Epic Warrior Women series, on Sat 16th December at 2pm (booking here – only £3)
  • And there’s the final Curator’s Introduction to the Exhibition happening on Sat 13th January at 1.30pm. It’s a 45 minute illustrated lecture and it’s free but you must book (other dates have all sold out so grab it now if you want to go!)

What is a WA 1440 competition?

We were just about to hit send on a club newsletter telling people about the latest WA1440 competition and we suddenly thought, ‘What if I was a novice archer? Would I have any clue what a ‘WA’ (World Archery) or WRS (World Record Status) competition and what does 1440 even mean?’ So we wrote this just for you…….

A WA1440 is a metric round (as opposed to Imperial) where you shoot 3x dozen arrows (36) at 90m, followed by 3x dozen arrows at each of the following distances: 70m, 50m and 30m.

36x arrows at each distance gives a total of 144 arrows shot… each arrow is worth a maximum ten points and – therefore – a maximum score of 1440 points can be achieved.

The ladies 1440 (also known as a Metric 1) is 3x dozen (36 arrows) shot at 70m, 60m, 50m and 30m.

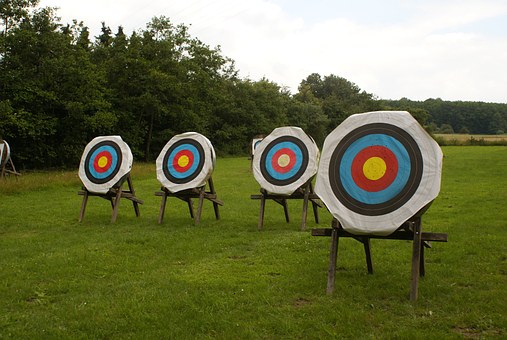
The longer distances (90m and 70m for men and 70m and 60m for women) are shot at a 122cm target face, the shorter distances (50m and 30m for both) are shot at an 80cm target face.


This round uses the world archery rules of shooting and uses 10 zone scoring (generally speaking, probably the one you’re used to!).

There is a really comprehensive guide to Scoring and Tournaments on the Archery GB website here : http://www.archerygb.org/tools/documents/12ScoringTournaments3-[14276].pdf


What do I need to know to go to a 1440 competition?

  • You need to be a member of Archery GB (previously called GNAS or Grand National Archery Society) this can be organised through your club and costs approximately £40. This will get you your own insurance for shooting at any other Archery GB / GNAS club, and it will get you on the mailing list for the regular Archery UK magazine which has details of other competitions.
  • You need to wear green or white and it has to be the specific green prescribed by Archery GB (covered in the Rules of Shooting Point 307 ‘a’ – you can read more here) or club colours (2020 Archery club colours are navy blue shirt and black trousers). Footwear must be completely enclosed (Rules of Shooting 307 ‘b’ in case you were wondering).

You must have practiced in advance at these distances and, as a rough indication, you’ll need to be shooting a bow which has at least 30+ lb limbs to reach 70m accurately.

How to Navigate the Blog and a Bit of a Contents List!

Here are a few tips for navigating the blog. The tag cloud on the right side of the page is our broad ‘contents’ section. If there’s something particular you’re interested in e.g. “Beginners Archery”, or “How to Improve your Shooting”, or… I don’t know, “What to Do in the Event of a Zombie Apocalypse” (tip.. learn to shoot)… then click on the tag and it will bring up every article in that category. We’ve tried to keep it relatively clean on the tag front so that you can choose between the main themes of the blog.


You can get back to the ‘home’ page of the blog by clicking on the title ‘2020 Archery Blog’. If you want to go back to the main 2020 Archery website click on the logo on the top left of the page.


There is some ‘old gold’ hidden in the archives. Here are a few suggestions of blog posts you might have missed :


I hope you enjoy having a poke around! Remember flinging pointy sticks around is good for the soul. And a life saving skill in the event of zombie apocalypse. We mean it. Start practicing.


arrow in head