Longbows are, at least for a British archer, the ultimate type of bow. Robin Hood, if you ignore the latest cinematic flop, shot an English longbow. The English army won at Agincourt with longbows shot by both English and Welsh archers. The English longbow is the reason that yew trees almost became extinct in Europe in the 16th century. Longbows are as synonymous with the history of Great Britain as the royal family, bowler hats, and arguments about Marmite.
Back when I primarily shot a recurve bow, I always said I would get a longbow when I scored 550 out of 600 on a full 60-arrow Portsmouth round. I’ve held a personal best of 549 for a couple of years, and the fact that I mainly shoot an American flatbow these days means I’m very unlikely to beat that. If I can’t reach my target for buying a longbow, I figured I’d just have to build one.
Sadly, I have the carpentry skills of a lump of wood. I sought out a proper longbow making workshop.
Finding a course
These days, longbows aren’t cheap: buying new, they start at around £200 for a very basic model and rapidly go up to £500+. Paying more doesn’t get you any particular advancement—this is a longbow, after all, not a fancy compound bow—but you do get a longbow made with better materials and with fancier nocks, crafted by bowyers clothed in original sheepskin who meditate in caves overlooking the sea.
Courses to build longbows, meanwhile, also hover at around the £300 mark. The courses themselves vary: some are single days, some are full weekends in a group where you camp and craft arrows for your bow. I opted to see Will Lord, an expert in prehistoric survival skills. His workshop lasts a single day and is taught one-to-one. He used to teach groups, he told me, but you end up with people fighting over the equipment and it’s all much less personal.
I visited Will at his home in Suffolk; a beautiful cottage near Bury St Edmonds. We’d exchanged a few emails prior to meeting up, and I’d let him know that I was looking to build a bow with a draw weight in the region of 35 to 40 pounds. This let him construct the initial stave with layers of hickory, purpleheart and lemon wood. After that, though, I’d be doing most of the work.

Building the bow
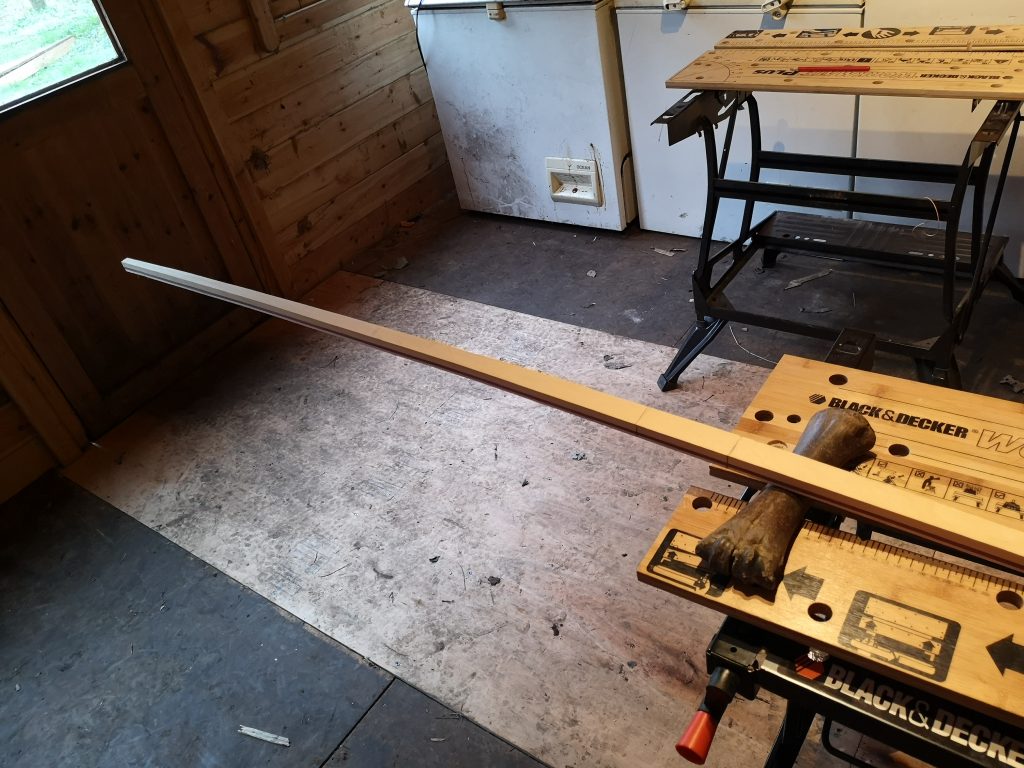
First up, shaping the limbs. Will had me using a wooden spokeshave, a form of plane originally used to round off wagon wheel spokes and later adopted by shipbuilders, to shape the rectangular cross section of the stave down into the classic curved D shape. He admits that this is not the most traditional method of shaping bow limbs, but it allows the bowyer to attune to and communicate with the wood. In my case, that communication mostly began as an argument, but under Will’s guidance I slowly improved. As the limbs take their required form, they are finely smoothed with sandpaper and—eventually—wire wool.

Once I’d mostly convinced the stave to be the right shape, we attached a premade bowstring and tested the draw weight. This is largely defined by the thickness of the purpleheart core and the lemon wood belly. We drew the bow to 35 pounds: perfect. Shortening the bow might raise the poundage, but we kept it full length at around 6 feet 7 inches: larger than the average and possibly a future cause of awkward journeys on the London Underground, but it looks perfect. We sharpened the points of the stave and attached blocks of water buffalo horn to both ends to form the string nocks. While the glue dried, we moseyed off to make a string of my own.
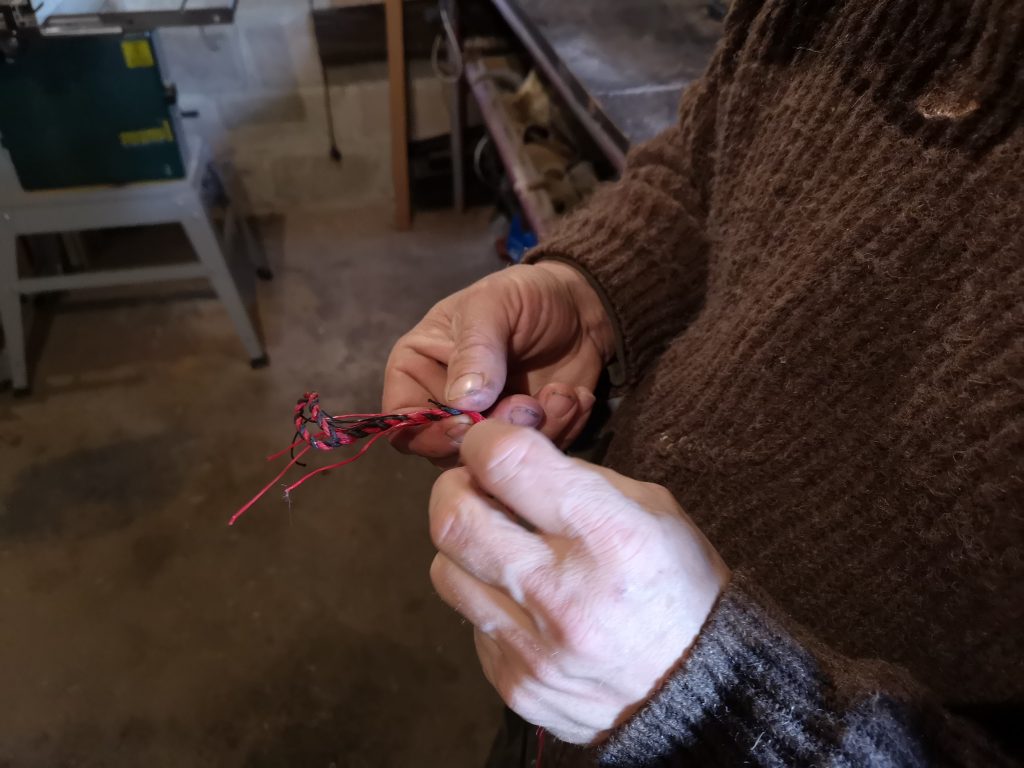
Making a bowstring involves effectively plaiting the ends of 2 separate strings together, with each of those strings being made up of 6 or 7 threads. I chose a mix of red and black threads; Will demonstrated the braiding technique on one end and I followed suit on the other, before handing back to him to tie it all off. A few twists in the bowstring and we were done.

When the buffalo horns were properly glued onto the bow stave, we then sanded them down to curved nocks. Truthfully, my only major crisis of the day was over-sanding the nock on the bottom bow limb, cutting into the wood that I’d so carefully pared down earlier. Will masterfully fixed most of the issue with his pocket knife, leaving me the relatively easy task of smoothing the wood again so that the mistake was practically invisible, although the nock on the bottom limb of the bow is now smaller than the nock on the top limb. If nothing else, it’s easy to see which end of the bow should point towards the ground.
The final touches
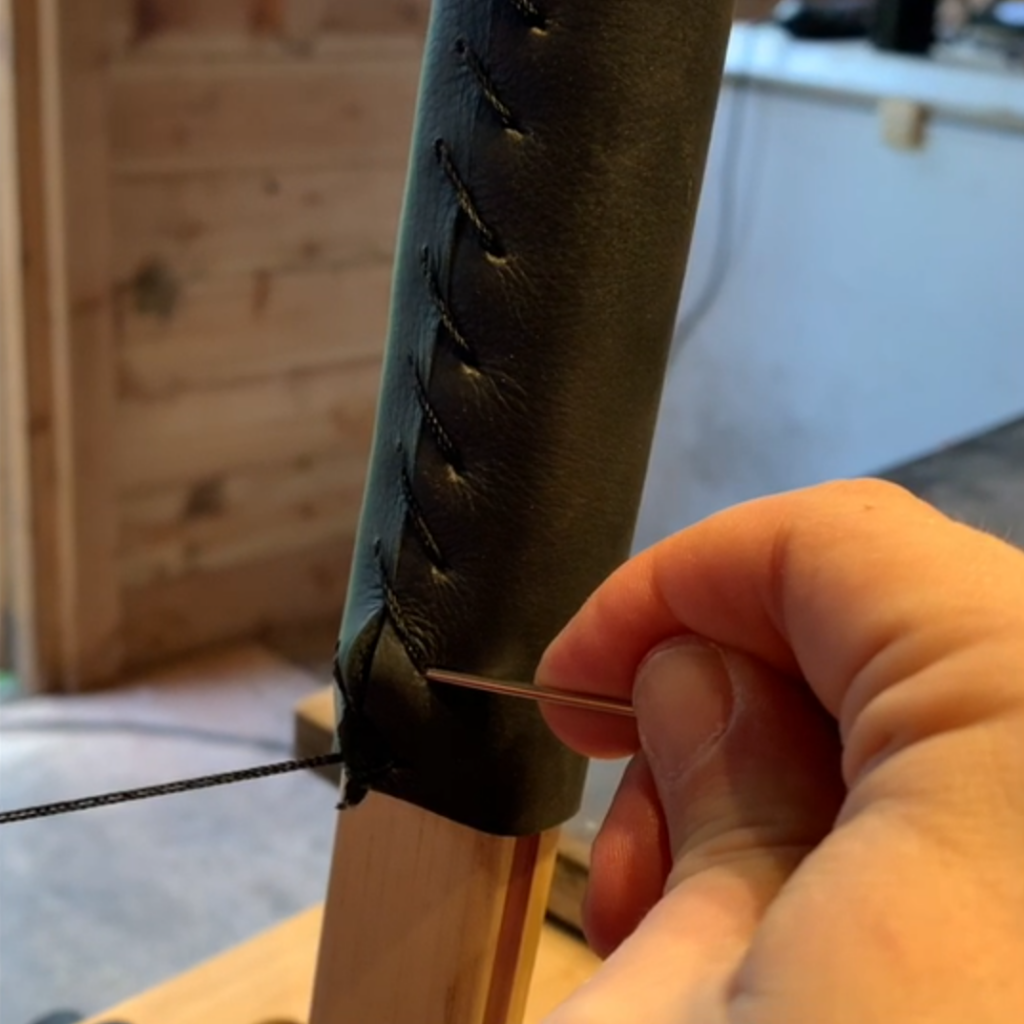
A final sand down of the stave and a coat of wax added a shine to the bow, and then we were on the final stage: building the grip. Will attached a thin piece of wood to thicken the middle of the bow, and then we cut a piece of leather to size for the grip itself. We used an awl to poke holes in the leather and stitched the grip into place, before hammering out and attaching 2 red circles of leather to decorate each end.

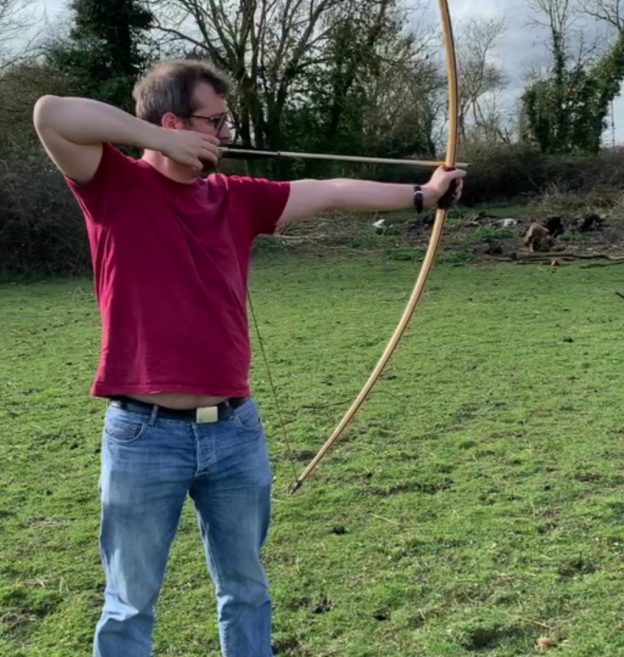
Bow complete. I took a few test shots outside in the field behind Will’s house, which allowed me to bask in the glory of shooting the bow I’d built and gave Will the opportunity to up-sell his arrow making course, where participants learn to forge their arrow heads from scratch. At some point, I will be going back.
The day was brilliant. Will is a patient teacher who has a comprehensive knowledge of his subject matter, and who will always step in the moment you have any difficulties. The bow I built is by no means perfect, but I built it and named it (I’ve never thought to name either of my other bows, but this longbow is “Suzy”) and so it will always have a special quality that all the money in the world could not buy. It shoots just as well as any shop-bought longbow you might buy for a similar price. If you’re in the market for a longbow, this might be one of the best and most satisfying ways of acquiring one.

Visit Will Lord’s website for more information about his longbow workshops and the multitude of other courses he teaches.
Our club is the ideal place to shoot a longbow, or indeed almost any other type of bow! Find out more here.


